
PES’s Dynamo journey truly started about three years ago. Over time we’ve created a handful of graphs that are used throughout the company to help with tedious day to day tasks like propagating grid changes from plan to plan, creating .dwg files of sheets without titleblocks, and even some modeling tasks like placing embed plates. We’ve also had some more isolated situations like modeling all piles in a project to the installed length. We’re steadily moving forward in our journey, but I feel like we’re approaching a transition point. We need to start getting more people involved to maximize Dynamo’s use in the office.
So, for those who might have heard about Dynamo but don’t really follow what it is, we’re going to try to help without getting too deep or detailed.
Dynamo is an open source visual programming tool that can work independently or will run “on top” of Revit. It aims to be accessible to non-programmers and programmers alike. Most of our usage to date is with running Dynamo on top of Revit where you can connect elements together, define relationships and define sequences of actions to compose a useful custom script. One of the major pros, and truthfully a potential con too, is that Dynamo is anything you make it. The benefit to this tool over some other options for Revit automation is that you don’t need to know anything about coding to understand it because it is so visual. A well-built Dynamo script can be understood by a lot of engineers.
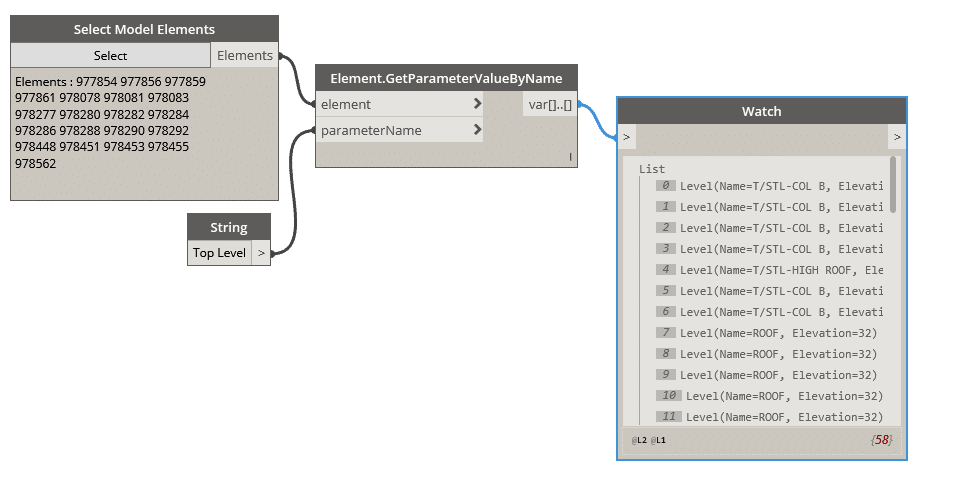 Dynamo comes with a built-in library of “nodes” or little snippets of code with useful names and generally logical inputs/outputs. These nodes are things like “select_elements” or “element.getparameter.” Combining these two things allows you to retrieve a selection of elements from a Revit file and obtain a specific parameter from them.
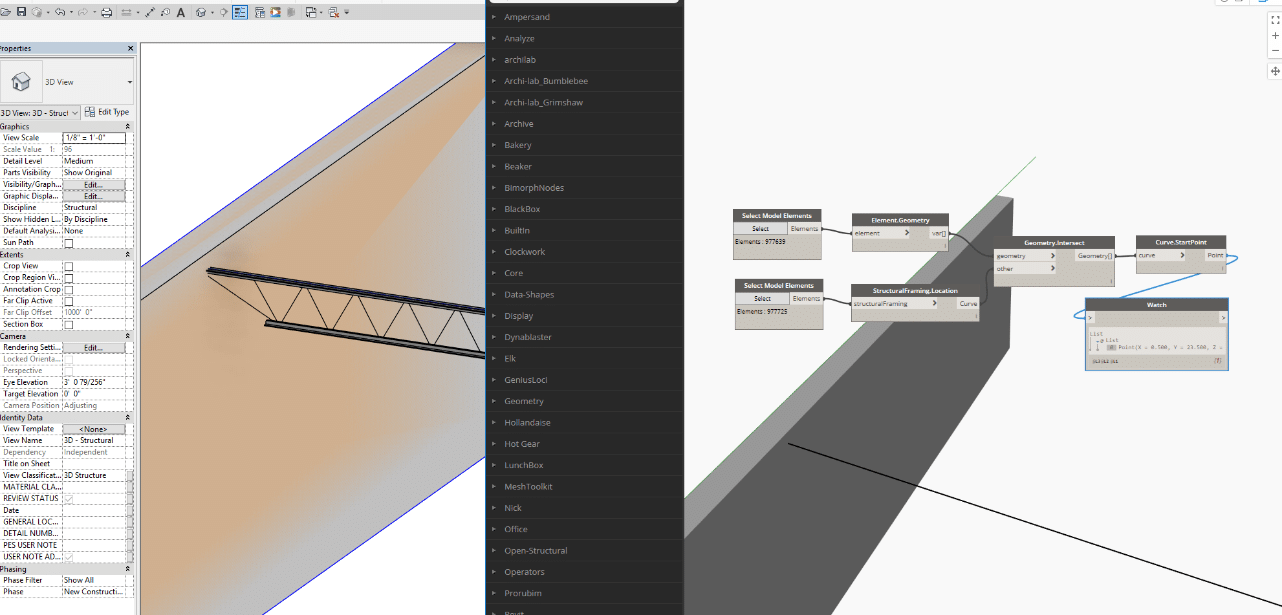
We then have that parameter in Dynamo where we can perform some action on it where we can adjust it as needed and then return it to the elements. We can do all this without manual intervention. While this is a very basic example, it starts to show the power of Dynamo. We can also work with geometry and large numbers of elements at once. For example, we can use Dynamo to place a family at every location where a joist intersected a wall. We can first collect walls and joists then get the underlying geometry and intersect them. This would return a list of points. We could then use those points as the location for a family insertion.
The key is that most of this can be done with a very basic/general understanding of data and programming concepts. You don’t need to know how to code. Now as tasks get more complex, having some coding knowledge can take these tools to the next level but that is a topic for another day.
Stay tuned to the PES Blog for more information on both Dynamo and some of the other options regarding software.